Breakfast
Basics
Breads
Salads
Sauces and bases
Soup
Pasta
Dishes
Vegetable dishes
Meat dishes
Fish dishes
30 Min Meal
Desserts
Cakes
Ice cream
Drinks
Chocolate
Crepes, waffles & pancakes
About Us
Contact Us
Breakfast
Basics
Dishes
Desserts
Search
Breakfast
Basics
Breads
Salads
Sauces and bases
Soup
Pasta
Dishes
Vegetable dishes
Meat dishes
Fish dishes
30 Min Meal
Desserts
Cakes
Ice cream
Drinks
Chocolate
Crepes, waffles & pancakes
About Us
Contact Us
Follow US
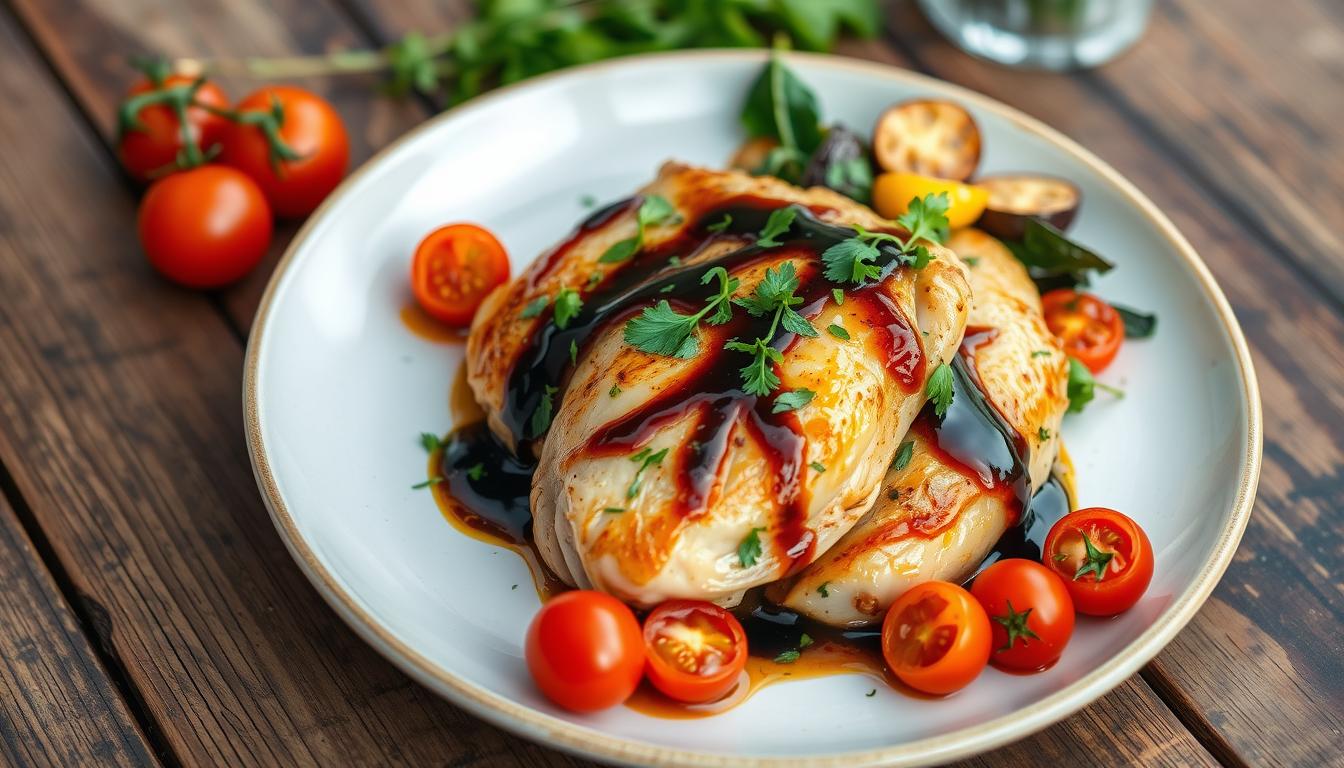
Dishes
Meat dishes
Delicious Balsamic Chicken Recipe
Dishes
Vegetable dishes
Delicious Green Bean and Bacon Recipe
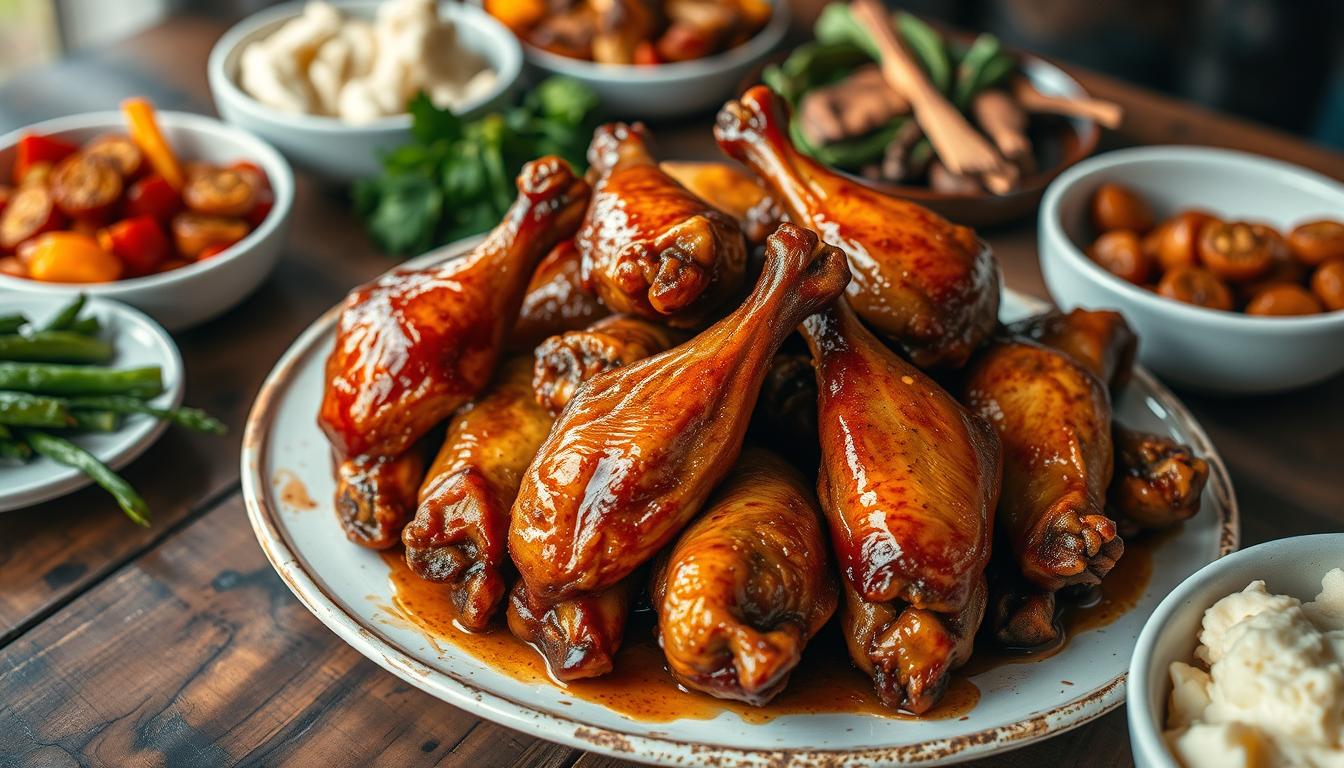
Meat dishes
Dishes
Delicious Turkey Wings Recipe: Easy Dinner in 30!
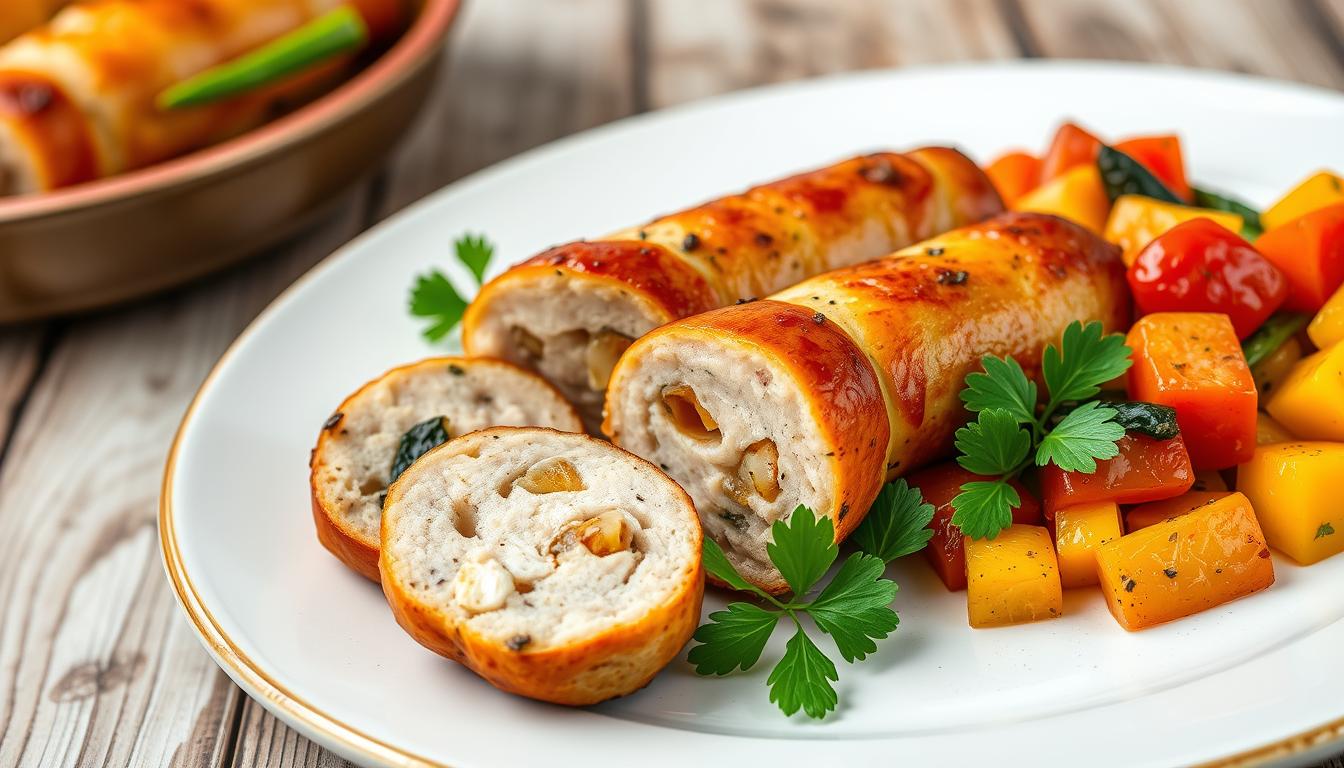
Meat dishes
Dishes
Delicious Chicken Apple Sausage : to Try in 30 minutes
Welcome Back!
Sign in to your account
Username or Email Address
Password
Remember me
Lost your password?